
I wanted an outside desk to hold my materials in a prayer garden. I needed it to be sturdy, weather proof and portable too. This is the outcome and can be used as a writing desk, potting desk or a plant stand.
I am still a novice at woodwork and learned a lot from this project.
This desk, seat, and bench are a recycling project that is technically easy and can fit whatever lumber you have at hand, even repurposed pallets.
The measurements can be changed to suit your space and materials. Some might prefer to have one tall enough to stand behind. I did purchase a 12' 1x4 but the rest was from the scrap box. The cost is about $50 after buying deck stain, screws and glue It could be used in a garden or greenhouse also. This particular desk is where I will study on my back porch. It should last for years.
Steps and Dimensions:
1. Cut and Assemble the Frames from 1x4 Lumber
Glue each joint and screw with 1 5/8" deck screws
Dimensions for The Desk: 17"x48", The seat: 30"x 12", and the bench: 25"x 12"
For the desk and seat, install 2x2 brace at the center of the frame,flush with the top-see the photo below.
2. Cut and shape the Legs. Use 2x4 lumber for the desk and seat, 2x2 for the bench. Cut as shown, router, cut as desired or just leave them square. They should be flush to the top of the frame.
Lengths: Desk: 27", Seat: 20", Bench 16"
3.
Cut the slats from 3/4" by 2 1/2 " lumber
Desk: You need 7, 52" long. Space them to overlap the frame 2", front and back, 1" on the sides.
Seat: You need 4, 40" long. Overlap the frame 5" on the sides and 1" on the front and back
Bench: you need 4, 25" long. They are flush with the edges of the frame.
The backsplash for the desk is from this same lumber, 52" long with two 11" pieces cut and attached to the sides. They are trimmed at an angle-See the photo for details. Glue them into place and attach with screws from the back
4.
Install the slats to the tops of the frames,
Square the legs in the corner-glue and screw into place. Set the frame on a level surface and square in two direction. Allow the glue to dry according to the instructions on the bottle.
Attach the backsplash to the back of the desk's top with blocks as shown. Use a 1 1/2 screw through one of the slats to hold the front in place.
5.
Sand and finish. I used "Penetrating Deck Stain".


The legs were cut from 2x4's, drawing a line from the center of the bottom of the leg to where the board meets the frame. They are flush with the top of the frame. I routered the edges with a rounding bit to give it a little decoration. This is optional. Notice the brace in the middle of the frame. You could use a 2x4. This one is a 2x2.


Coated Deck screws and "Gorilla Glue were used to help with the weather. Squaring the legs in both directions is tricky. You can adjust them by changing the tightness of the screws. The glue gives you several minutes to get things "plumb" before it sets.

Follow the instruction and things go very well. Titebond II and Liquid nails/outdoor are waterproof, a little easier to work and give longer working time but the Gorilla seems quite strong and long as you have a clean moist surface.

This lumber has been saved from other projects, scrounged from a friends construction scrap, salvaged from some demolition at church and the leavings from a mission project. Keep and eye out and you can find lots of raw material for these projects. Many are using pallets. They are difficult to take apart but they are usually hardwood and useful.
The strips for the top of the desk and seats were slats from a "Danish" style bed that I rescued from a trash pile, abandoned from a garage sale. They were spaced by a wood scrap, Cut to length, glued and screwed into place
 |
| The sides could be left square or trimmed |
 |
| attaching the back splash-no glue needed |
The back splash was cut from these same slats, screwed together from the back and attached with these short blocks.
 |
| attach with a 1.5" screw through the bottom |
The desk and bench was designed to fit a space into an outdoor garden but now has this great porch! Cedar would be a better material if you were leaving it out and exposed.
The pieces can moved around and used for seats, plants or even a step stool. They then fit back together and fit into a two foot space next to the wall.

Find a finish that suits you. Here are some options: Stain and urethane-ok for indoors but would not take the beating of weather, pots and dirt. Plain spar varnish-tough but an annual application would still be necessary, exterior house paint-cheap, easy and lots of colors but I want the wood grain for this one. I settled on "Penetrating Deck Stain", available from any good paint counter. There are a number of brands available. This product is made for wooden house siding, Decking and outdoor furniture. It was reasonably priced and easy to apply with a foam brush. This brand is water base, soaked into the wood quickly, and did not smell. Make sure it says "UV inhibitor" on the can. The results are great but they only had one color. Other brands may come with more choices. In the future all the desk will need is a scrubbing and then another coat of stain. The can says it will last 4-5 years.
 Time for something different. I usually only drink strong black coffee and live in a small town where the nearest fru-fru coffee place is two towns over. Include my frugal unwillingness to spend $5 for a coffee or $100 for an expresso machine and creativity has to kick in. I read in a newsfeed that you can "Steam" milk for coffee in a microwave oven.
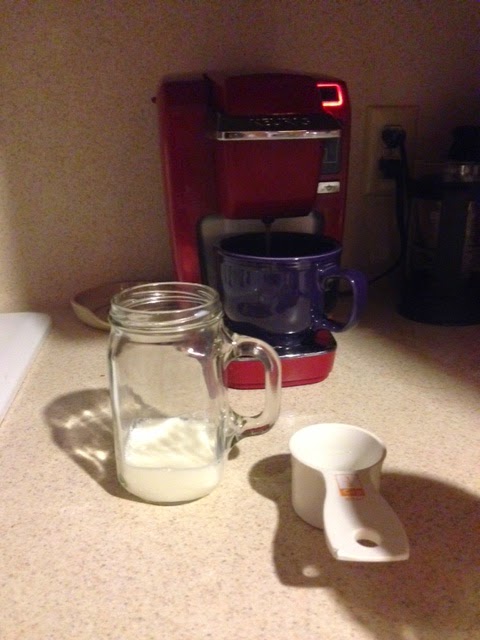
 Start with your favorite coffee. I add a table spoon of Splenda also. This is better with dark roast from my coffee press, this takes about 10 minutes, but quicker from the Keurig, which take about 3 minutes. Use what you brew's.
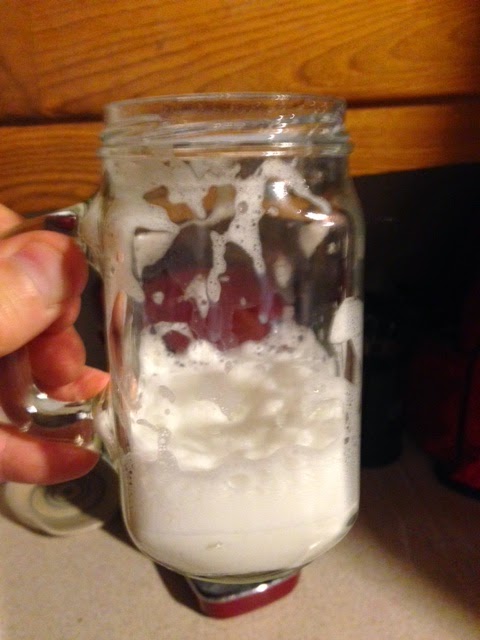


